Today I’ve decided to finally make my Wood Table-Top for Product photography. Â I usually use whatever is around me whenever I do a shoot but I think its time to step up my game just a bit. Â Luckily I ended up having extra wood in the garage. Â Overall size of the Table-top is about 4ft x 2ft.
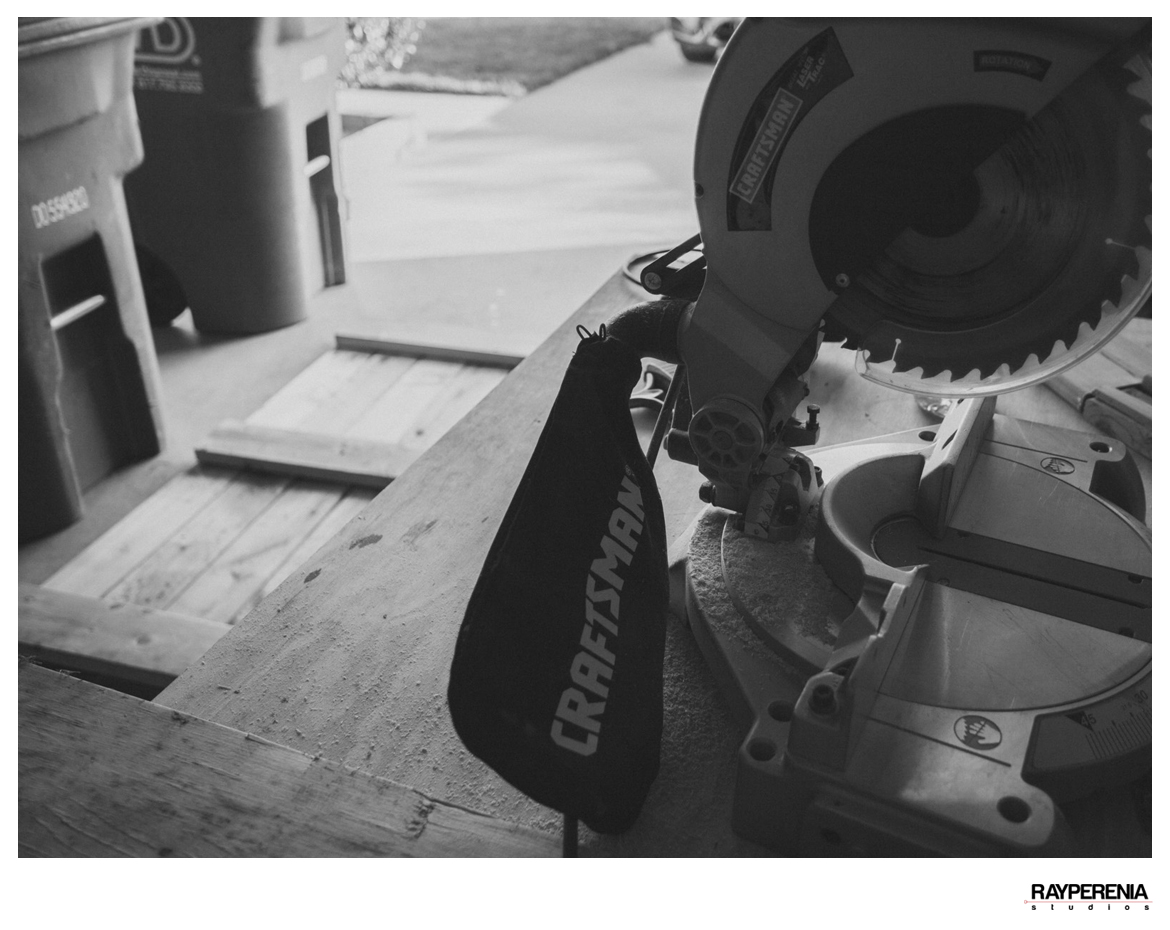 Its pretty simple in creating your own wood table-top.  All you really have to do is make sure to measure everything correctly.  If you don’t have your own saw then you can go down to your local hardware store and just have your measurements made and then have them cut it for you.  That way when you come home all you really have to do is assemble it together with a few nails or wood screws you’ll be set in no time!  I wanted to make the wood a bit darker with a withered look  to it.  I’ve never really texturized anything before so I went out on a whim by using steel wool, a hammer, and a sander.
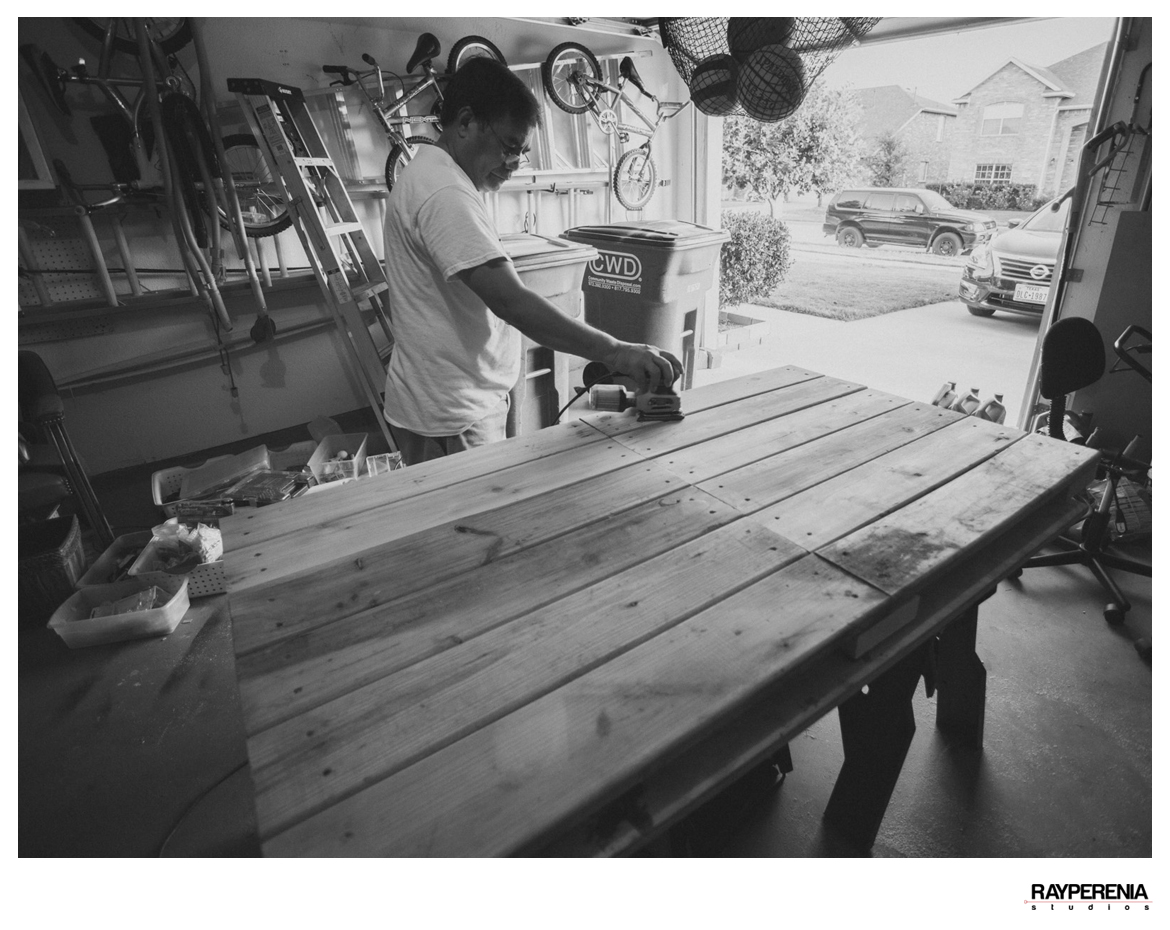
 Of course I had to have my pops help me out by guiding me a bit. Â These are moments that I love with my pops. Â It seems that whenever there’s anything that needs to be fixed either with the house or with any of our cars its always us trying to figure it out together. Â I definitely learned a lot growing up just watching him do things.
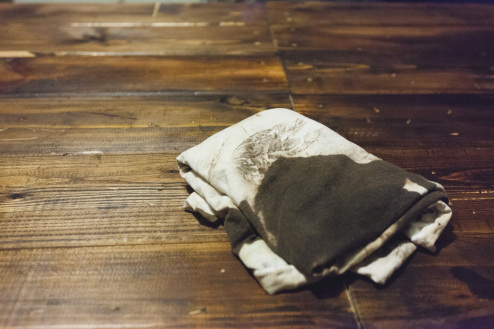
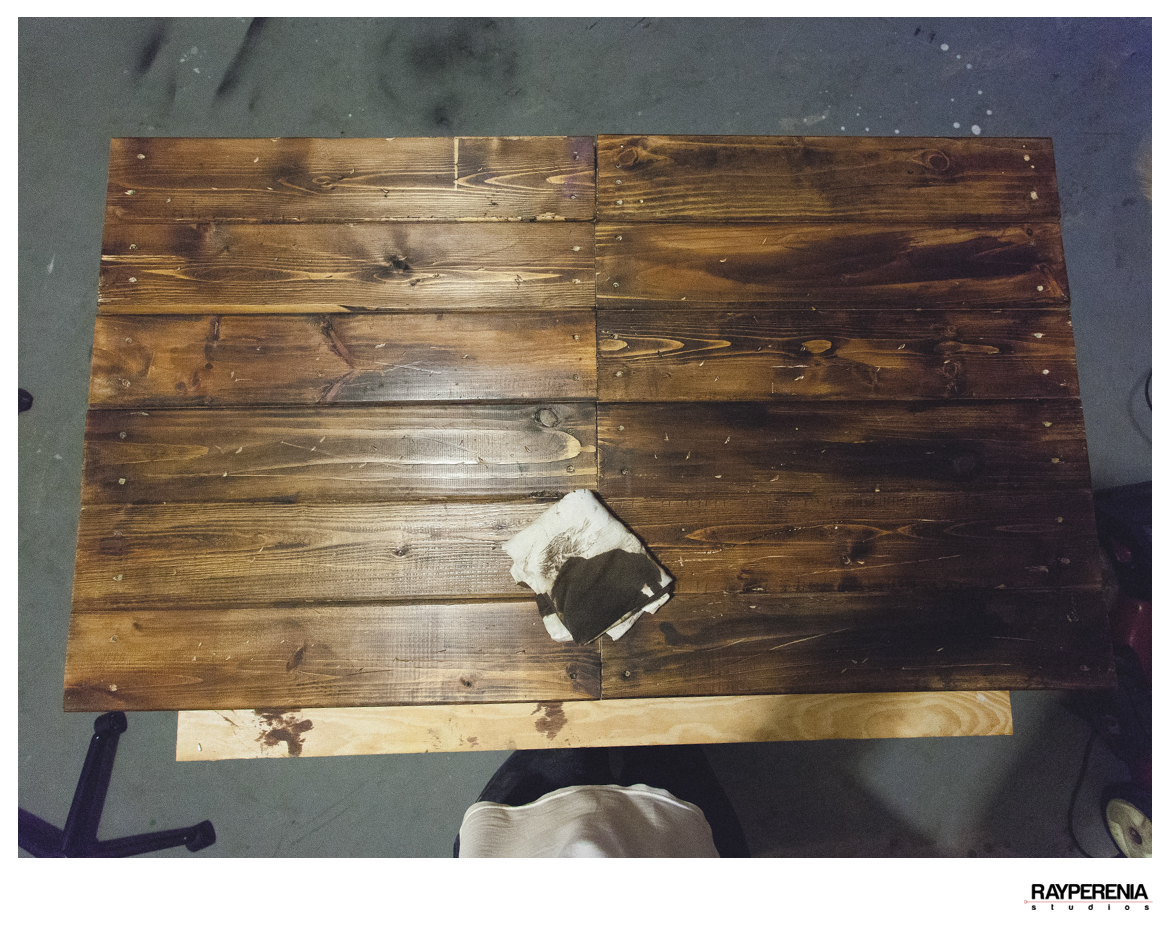
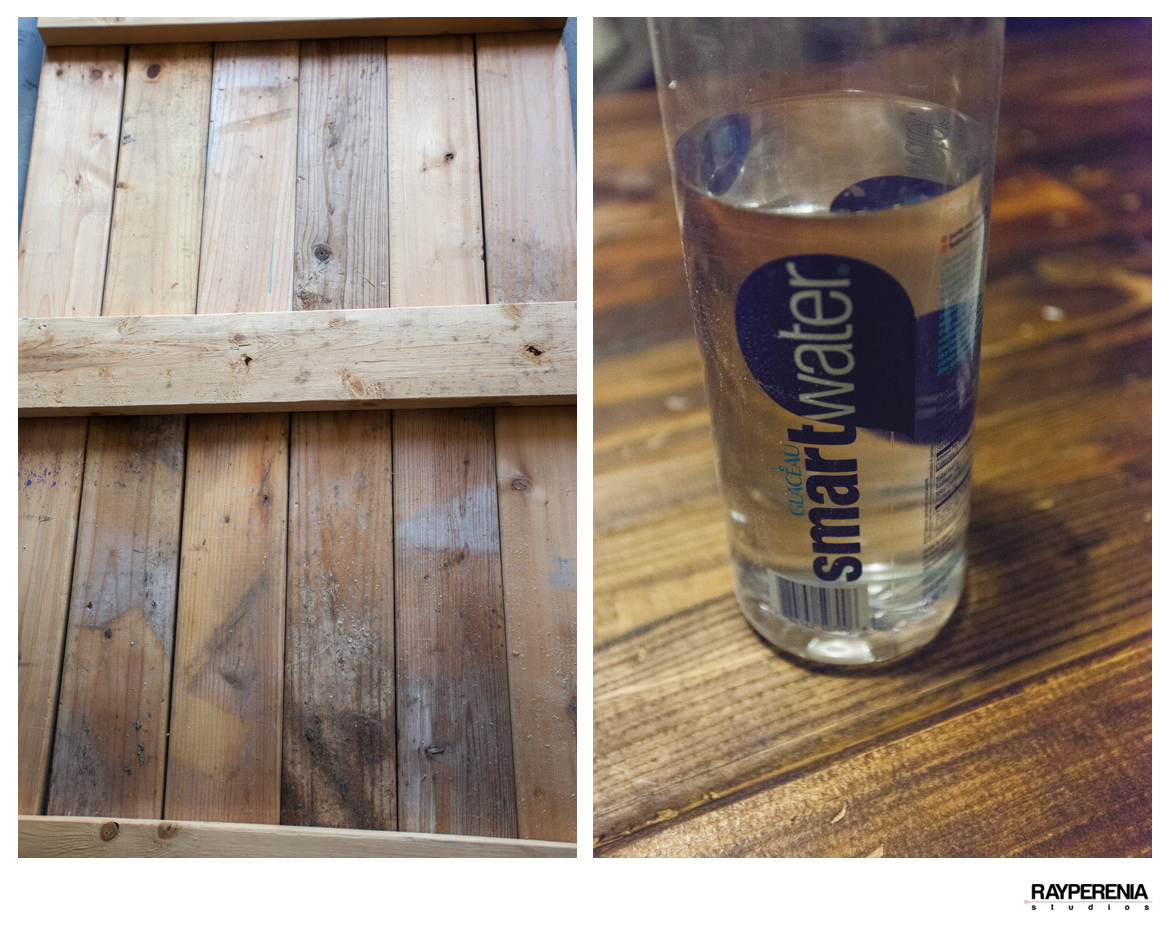
 After you sand the wood table-top make sure to wipe it down with a cloth or if you have an air duster / blower even better. Â You don’t really want any dust or wood chips on while you stain. Â I ended up using about 2 coats of mahogany trying to make some parts a bit darker than others.
I can’t wait to test it out once its dry! If you guys have any questions or even comments or advice feel free to drop a comment below! I’ll be having more DIY projects on my blog so be on the look out!